Acoustic Barrier Fencing
We were recently selected by Allon White Sportscars in Cranfield (Bedfordshire) to construct new acoustic fencing along two boundaries of their new workshop yard and premises.
Acoustic barrier fencing is used to reduce the transmission of sound. In this case a reflective type of acoustic fence was chosen to comply with a specific planning requirement.
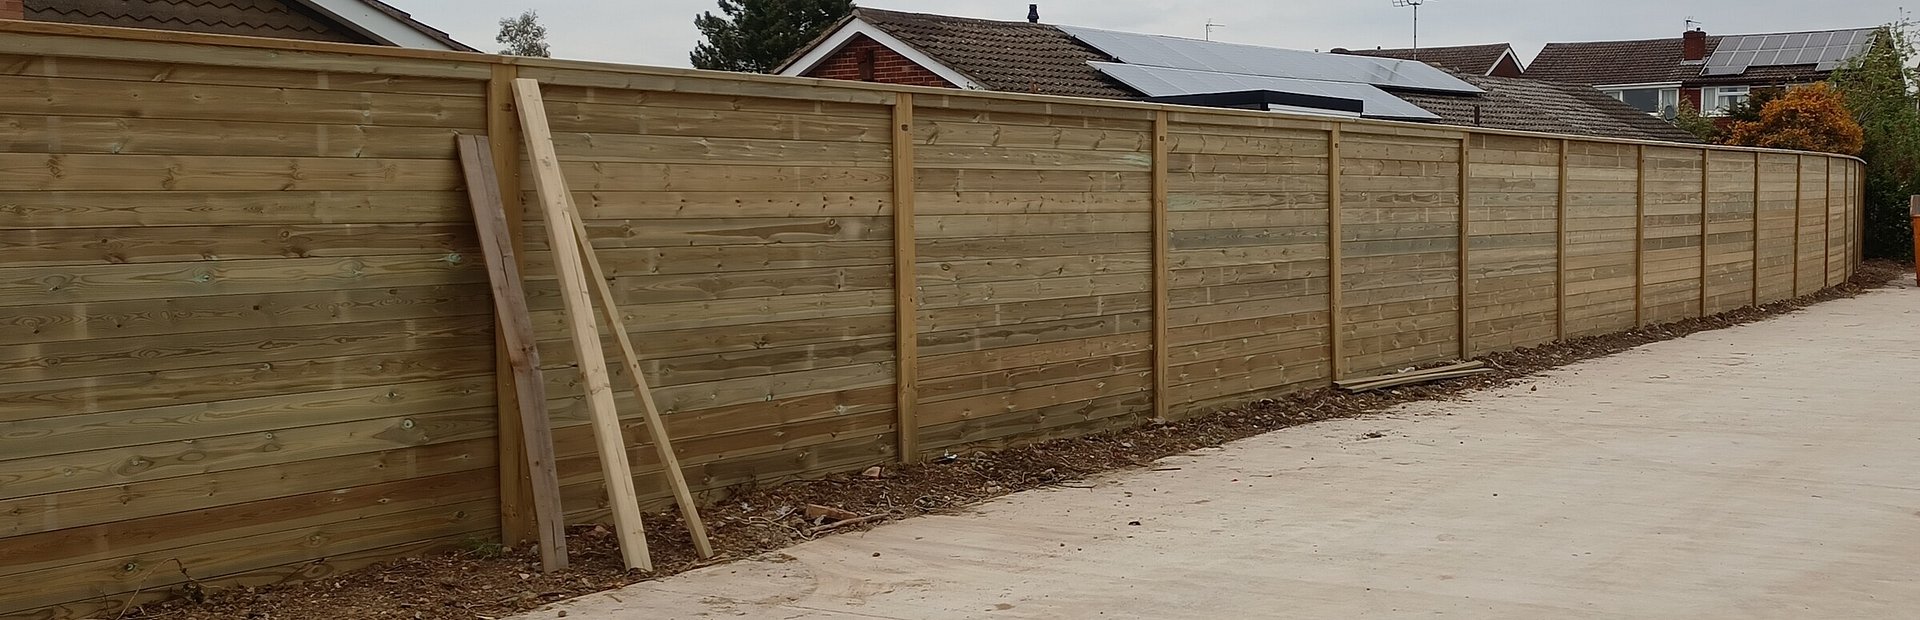
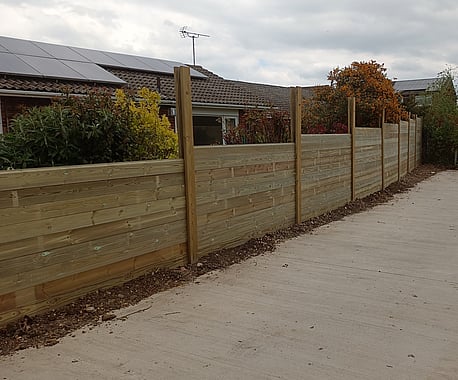
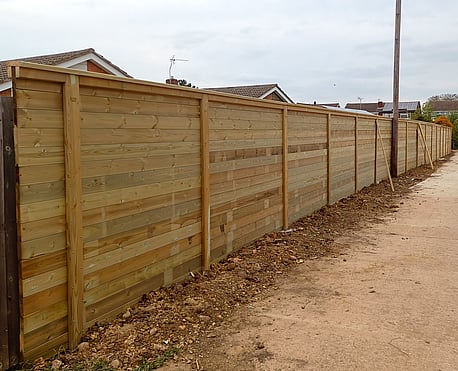
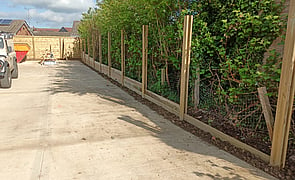
Two fences have been installed, one at 2.0mts high and another section at 1.8mts high. The high specification timber components not only offer sound reduction but good privacy and a not unattractive look for adjacent properties.
This particular fence was supplied by Jacksons Fencing (Kent). It is their own specification, has been independently tested and meets or exceeds the stated noise reduction requirements.
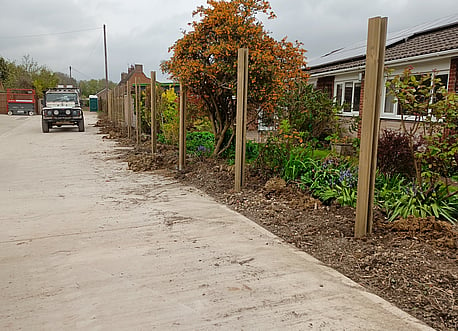
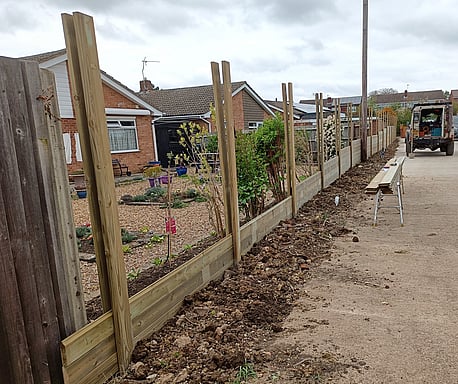
Line established - setting the posts.
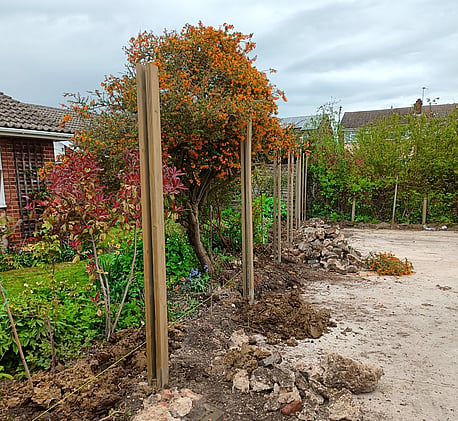
Setting more posts along the line

More fence posts along the line.
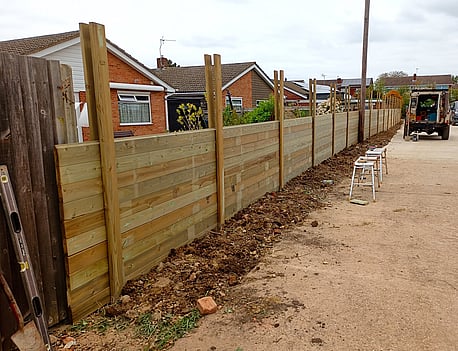
Starting to build up the T&G boards.
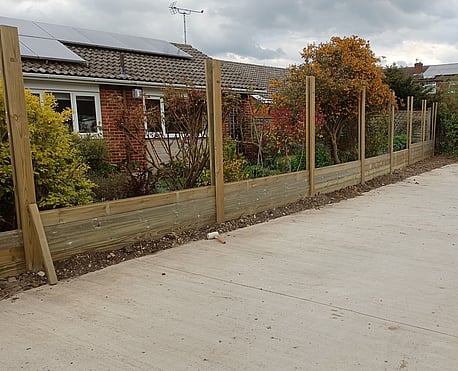
Continued build up of the boarding.
T&G board build up over the whole length.
More boarding added
Just the last couple of boards to fit
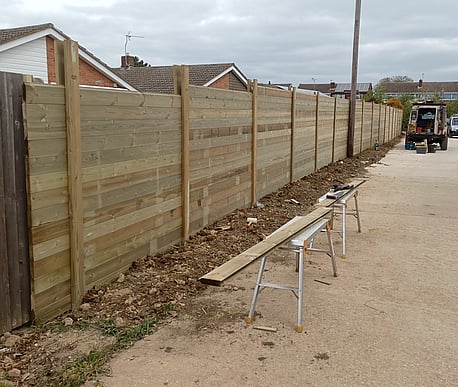
The counter rail and capping is now fitted.
Acoustic Fencing construction.
Like all fencing the secret to a correctly installed fence is in the line and level. Sort these out and all you have to do is install the posts to the correct specification (depth and footing size) and you are good to go.
In the picture you can see the installation build up from the setting of the 'tuning fork' style posts to the installation of the tongue and grooved boards.
The base board has to be in ground contact to prevent sound going underneath. The planks are 4.8mts long and build up in a staggered joint to add strength. Along the top extra counter rails are fitted and the capping is attached.
And yes... It is meant to have a slight curve in it!
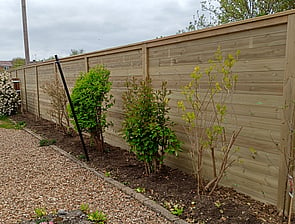
A lower fence on an adjacent boundary.
Build up of the T&G boards.
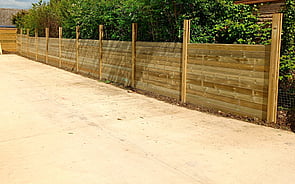
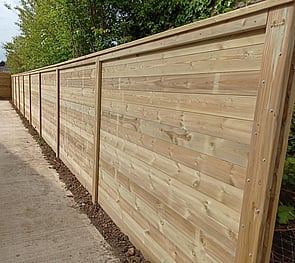
Fence now complete.
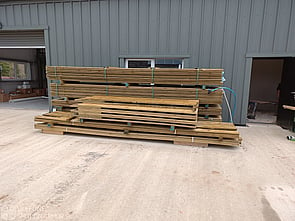
Not long off the lorry.
Ready for the install.
Acoustic Barrier - more information.
One of the benefits of the system is that it looks the same on both sides. The adjacent residents I spoke with were happy with the look of the fencing, it offers an attractive backdrop to their gardens.
The timber was all supplied pressure treated in a green Tanalith treatment.
In case you are wondering about the cost (we installed approximately 80 lin mts) at the time this was installed (April 2022) the cost was in the region of £260.00 per lin mt. It's not for everybody!